Hardware1 min read
Scratch-built 3D printer from salvaged parts
Engineering a custom Cartesian 3D printer built from scavenged stepper motors, optical drive lead screws, and custom-wired electronics.
Buying an off-the-shelf 3D printer kit gives you a functioning machine quickly, but building one entirely from scavenged parts teaches you how every microstep, lead screw pitch, and thermal loop actually works.
I set out to build a functional Cartesian 3D printer from the ground up, utilizing salvaged mechanisms from old optical disc drives, scrap structural framing, and custom microcontroller driver circuitry.
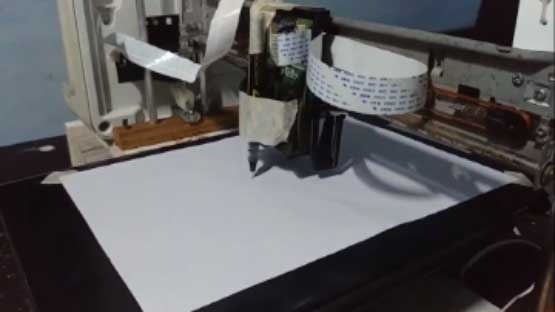
Harvesting motion mechanisms
Old DVD and CD optical drives contain surprisingly high-precision miniature stepper motors coupled directly to fine-pitch lead screws and smooth linear guide rails. While their travel distance is constrained (typically around 40mm to 60mm per axis), their positional repeatability is remarkably tight.
- X & Y Axes: Dual salvaged optical drive sleds mounted perpendicularly to handle print bed movement and print head traversal.
- Z Axis: Vertical lead screw assembly with guide shafts for layer height incrementation down to sub-millimeter tolerances.
- Structure: Custom braced frame built from scrap materials to dampen motor vibrations and maintain strict axis orthogonality.
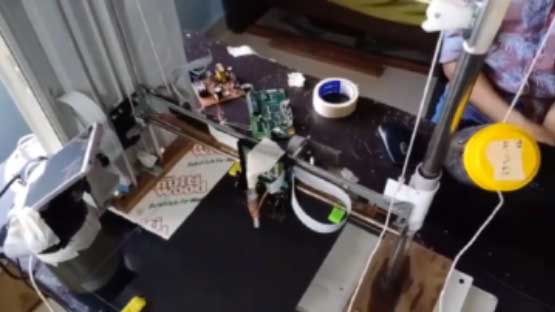
Custom electronics and driver circuitry
Rather than using a pre-packaged 3D printer controller board, the motion controller was assembled on prototype boards with individual stepper motor driver ICs. An AVR microcontroller runs motion-control firmware, translating standard G-code commands into timed step and direction pulses.
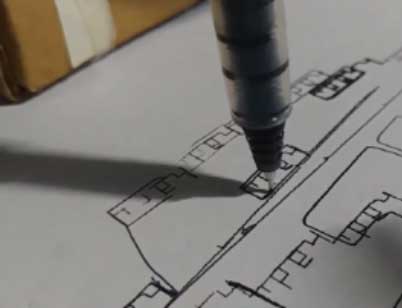
What scratch-building teaches
When you build every axis and calibrate every pulse yourself, printer troubleshooting ceases to be a guessing game. Backlash, skipped steps, and thermal drift become tangible mechanical puzzles with direct physical solutions.