Hardware1 min read
Building a handheld Linux pocket PC
Prototyping a pocket-sized, self-contained portable Linux computer with a touch display, integrated battery, and tactile hardware keyboard.
On-screen touch keyboards work well for quick text messages, but they fail when you need a terminal, code editor, or command-line workflow. Virtual keyboards steal half the screen area, lack tactile feedback, and make modifier keys like Ctrl, Alt, and Tab cumbersome to use.
I started prototyping a pocket-sized, fully standalone Linux handheld computer: a dedicated portable machine with a color touchscreen, onboard battery power, and a full physical tactile keyboard.
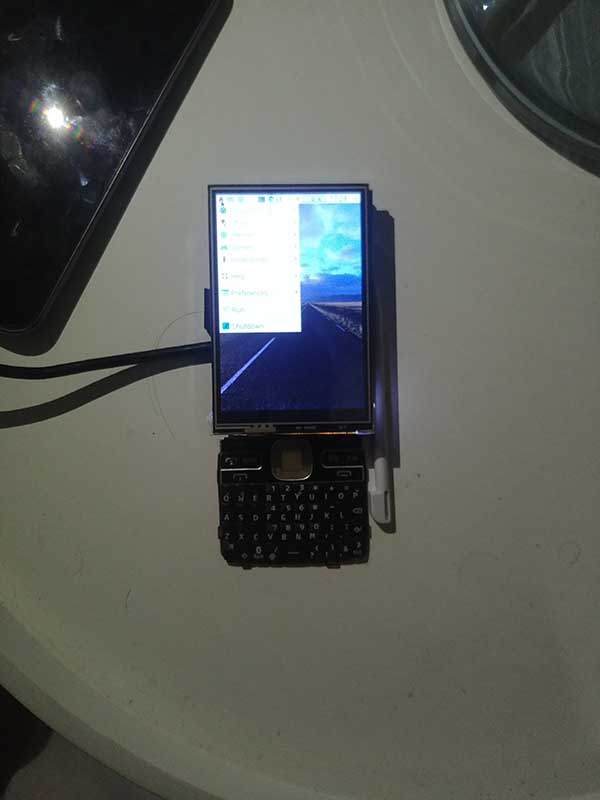
The hardware architecture
The goal was to build a genuinely pocketable device that runs standard Linux distributions without relying on external cables, monitors, or peripheral keyboards:
- Compute core: Compact Single Board Computer running a full Linux kernel and terminal environment.
- Display & Input: Low-profile color TFT touchscreen for navigation and interface controls.
- Tactile Keyboard: Matrix of micro tactile momentary switches mapped to a dedicated controller sending standard USB/HID keystrokes.
- Power Management: Integrated single-cell LiPo battery with 5V step-up boost converter and USB charging circuitry.
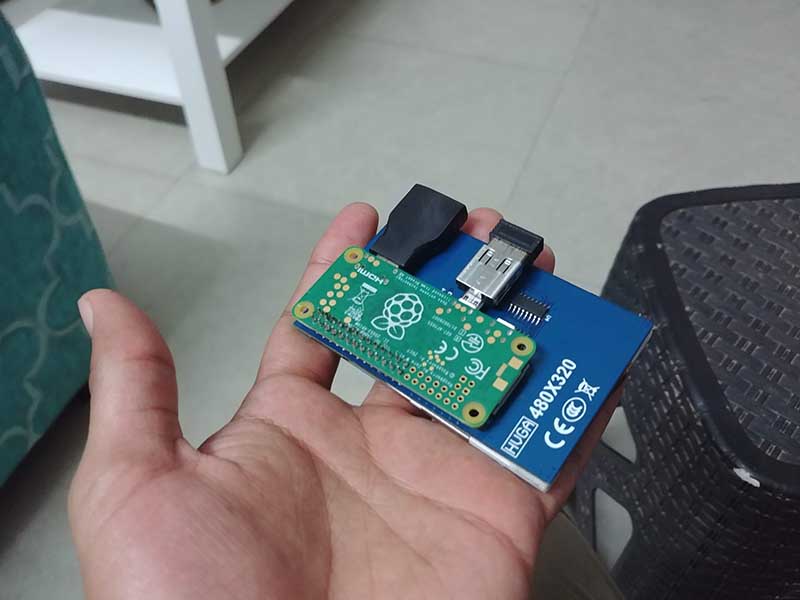
Ergonomics and tactile feedback
Handheld ergonomics dictate everything in a pocket computer. The key pitch and thumb-travel distance must allow two-handed typing while holding the weight of the battery and display. The switch matrix is wired to provide clear tactile clicks so you know when a keystroke registers without having to stare at the cursor.
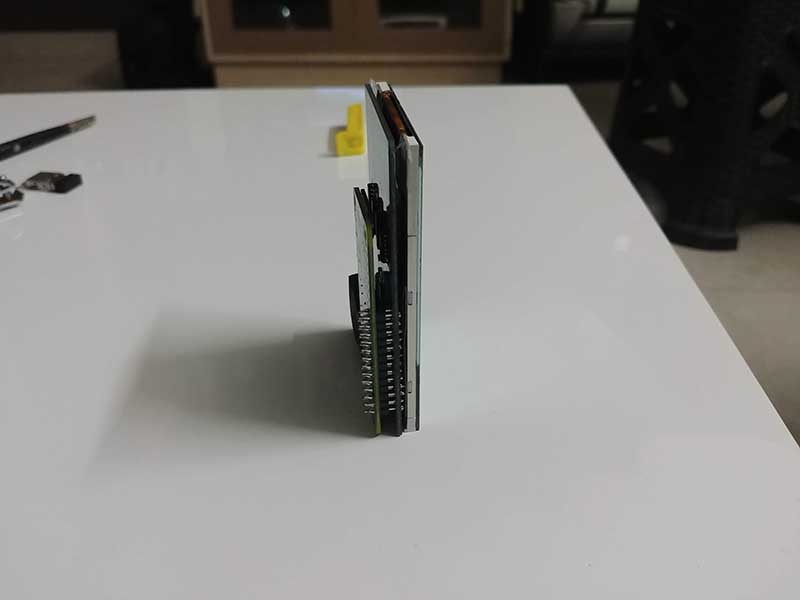
Next steps
This is an active work in progress. The next iteration focuses on designing a unified custom 3D-printed enclosure, a dedicated PCB backplane for the keyboard matrix to eliminate hand-wired traces, and power-saving profiles to stretch battery runtime during terminal sessions.